Matt Anderson
New member
I received my first Weber Kettle for Christmas this past year. I finally had time to make a table for it. I still have a couple of additions that I need to make such as hangers for utensils, grill grate..ect. The hole ended up being a bit smaller than I anticipated. But so far, the wood has not gotten too hot. I also made it plenty tall. I wouldn't want to go any higher. But, live and learn. Fun project to work on and is working out great.
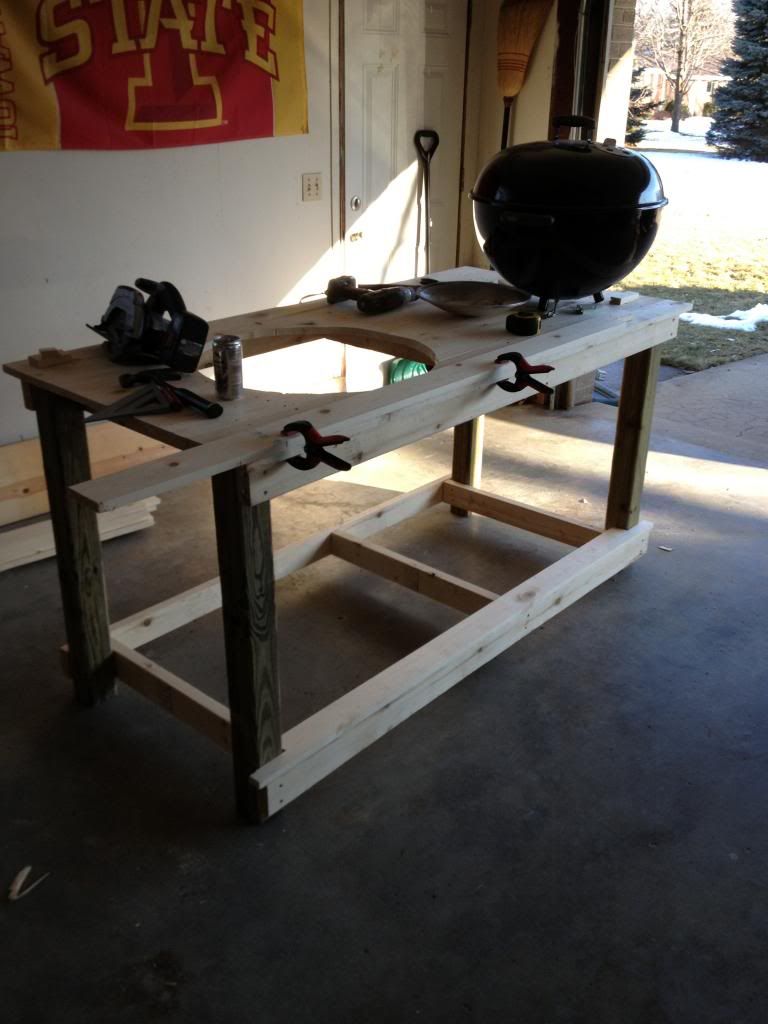
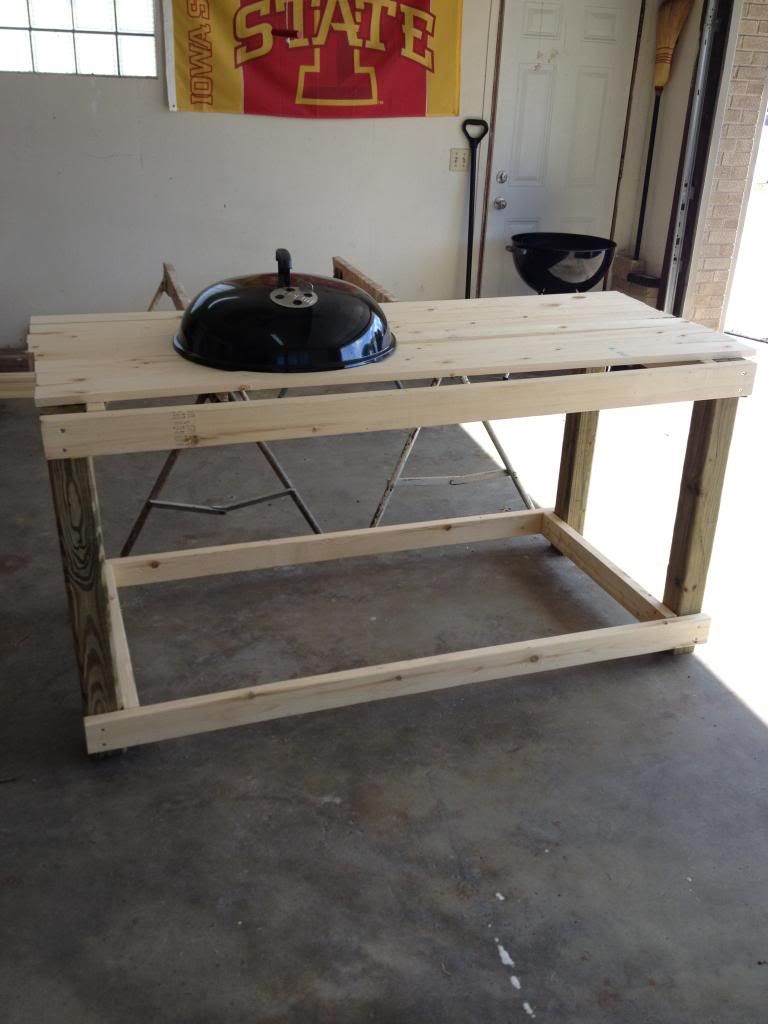 Beginning phase.
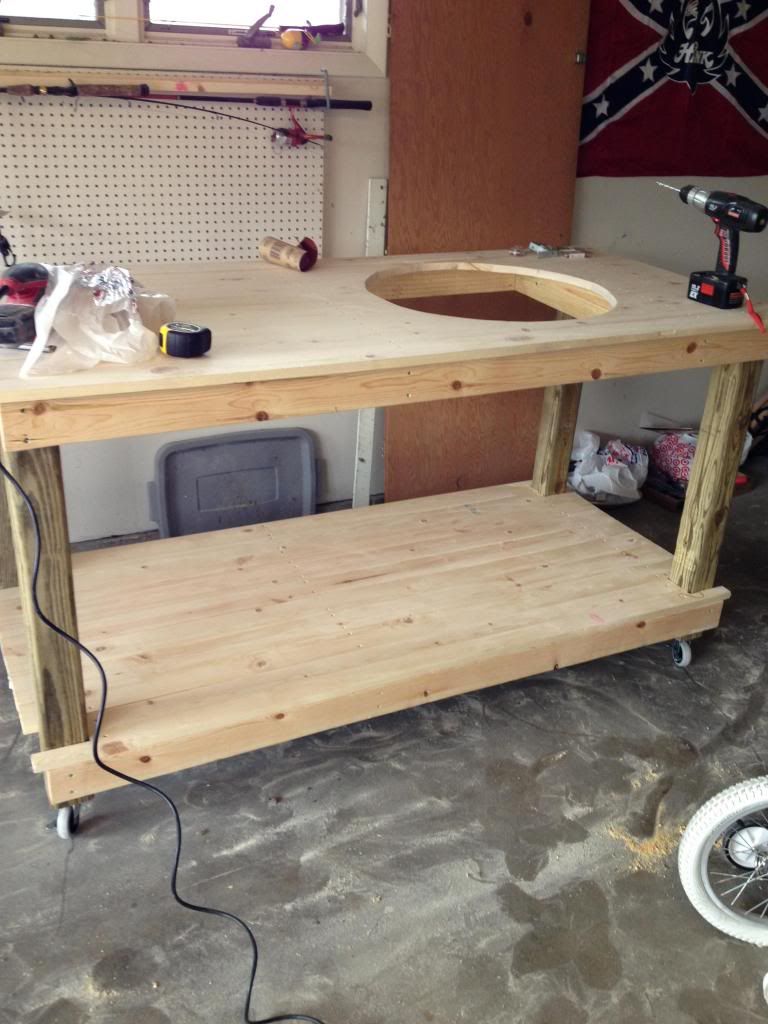
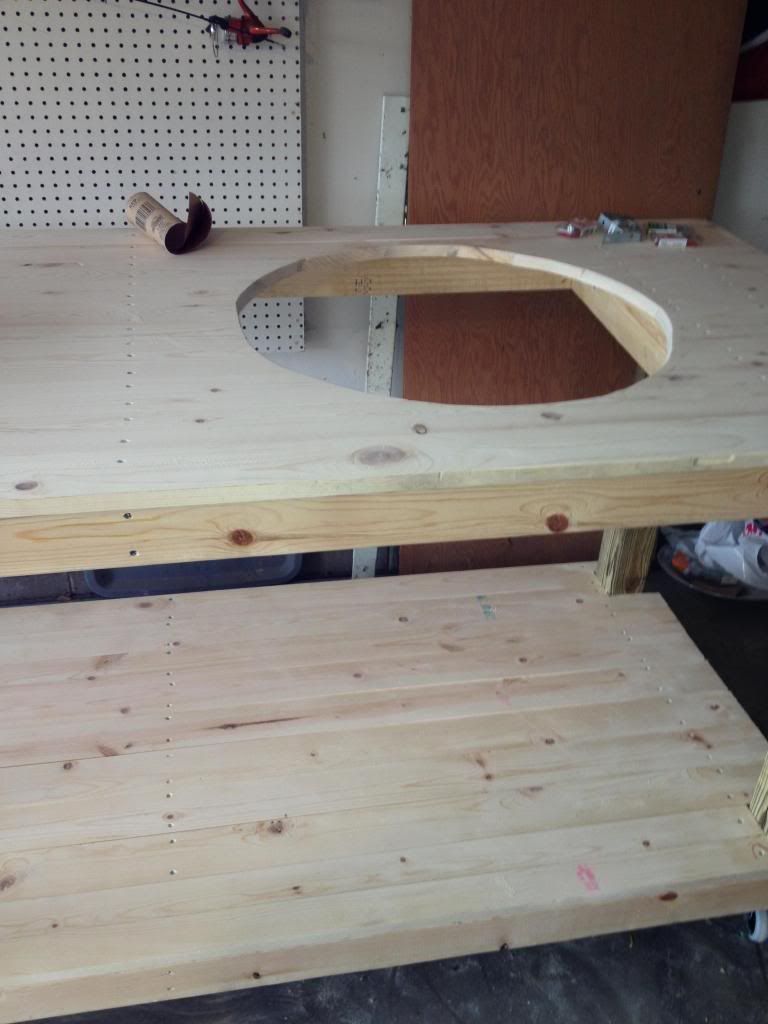
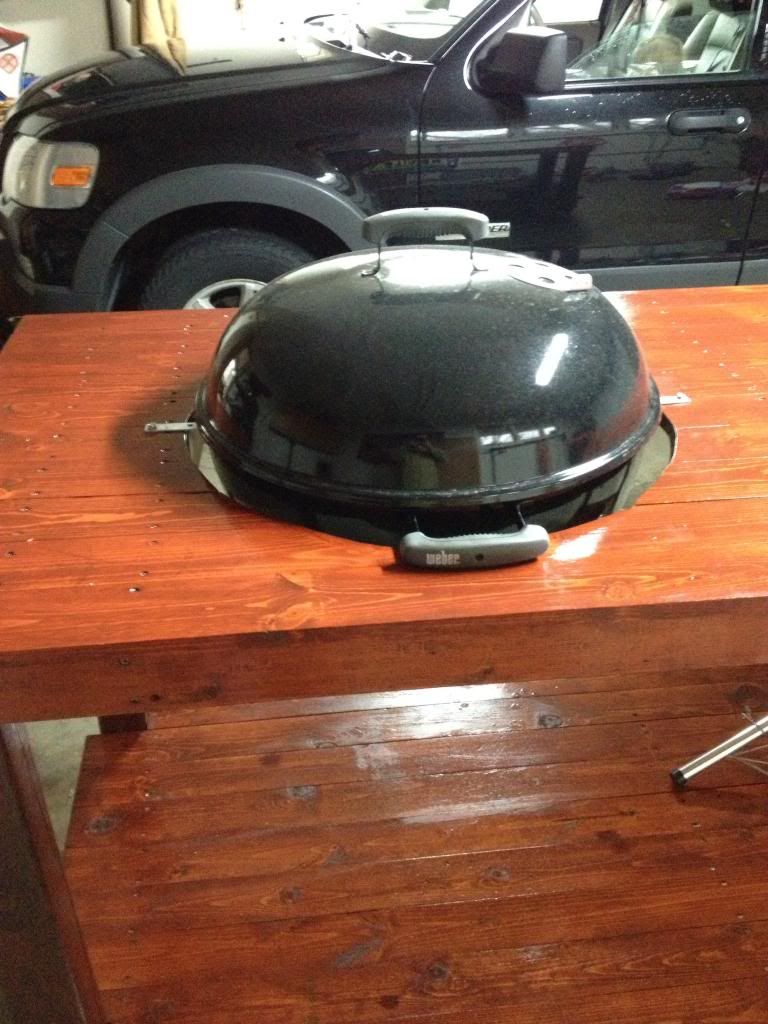
 Hole cut.
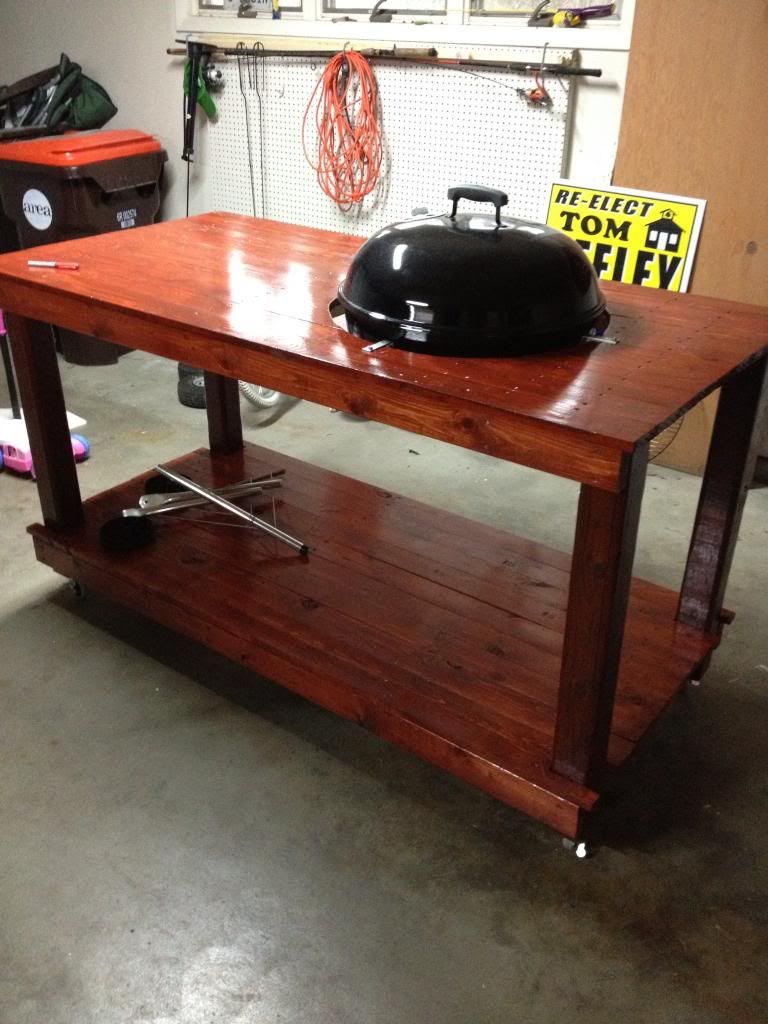
 Sanded, stained and mounted
 Ready to grill!
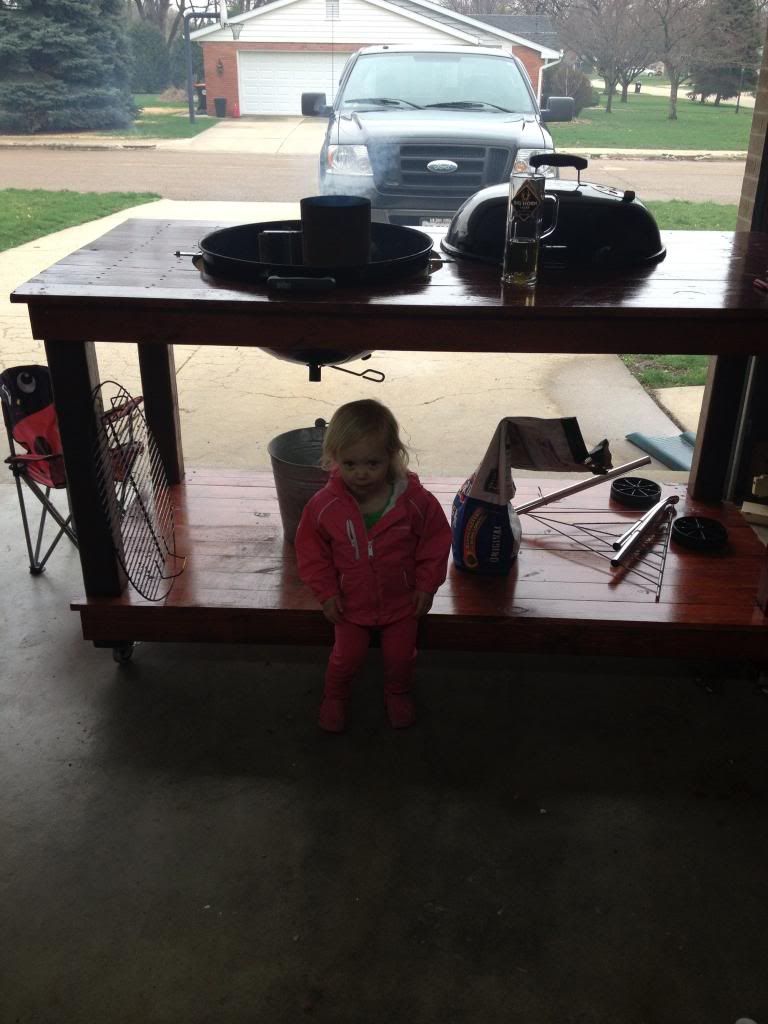 One of my helpers. She is ready for dinner.


")