Dave Casazza
TVWBB Fan
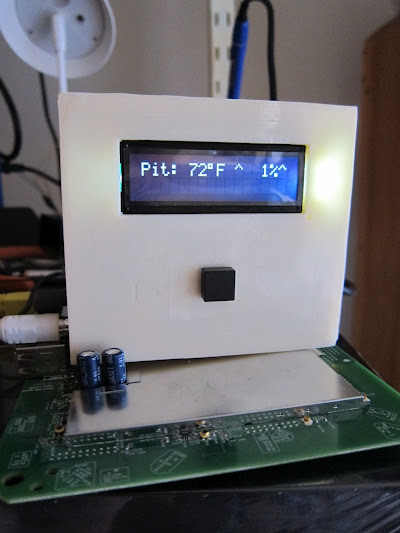
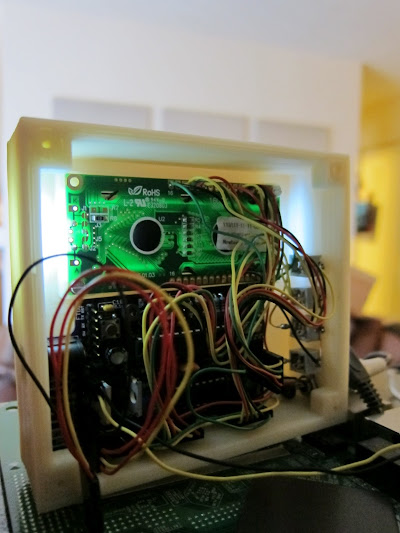
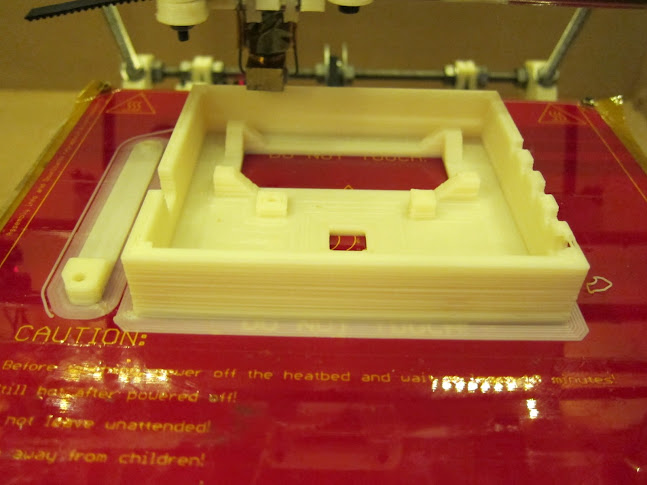
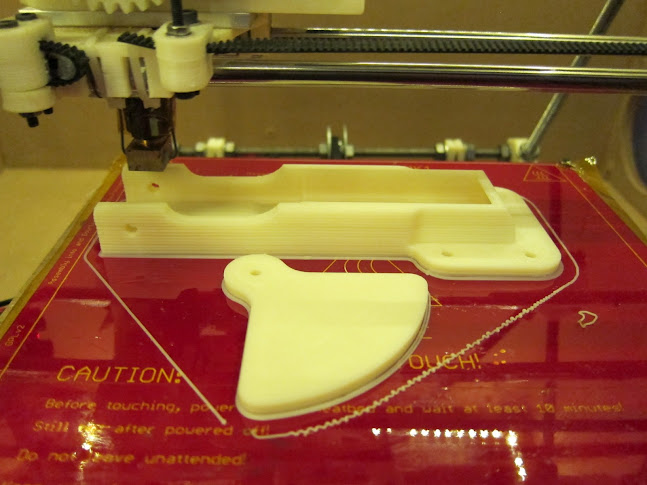
As I work through my router issue, I thought it would be cool to show how my buddy is printing (with ABS plastic) the HeaterMeter Case and Fan Mount...
HeaterMeter enclosure below, you can see where the lcd display goes, and the button board mount. The bar on the left is to retain the button board...
Fan mount, next. It's a partial print, and you can see where the fan mounts on the right side. The left side is partially printed - its actually an enclosure where the fan output from the right side is ducted downward into the mount area (where the holes are) on the left side.
The bottom part of the print is a variable damper to go over the fan input - we noticed while doing a test burn that we needed to dampen the fan input by 70% to bring down the steady state burn temp at 0% fan to about 200 deg from 310 degs.
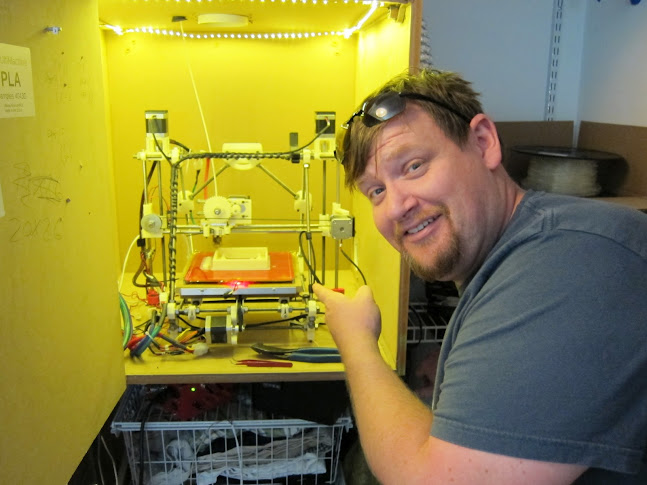
My buddy in front of his printer:
Stay tuned for completed pics!
Dave
HeaterMeter enclosure below, you can see where the lcd display goes, and the button board mount. The bar on the left is to retain the button board...
Fan mount, next. It's a partial print, and you can see where the fan mounts on the right side. The left side is partially printed - its actually an enclosure where the fan output from the right side is ducted downward into the mount area (where the holes are) on the left side.
The bottom part of the print is a variable damper to go over the fan input - we noticed while doing a test burn that we needed to dampen the fan input by 70% to bring down the steady state burn temp at 0% fan to about 200 deg from 310 degs.
My buddy in front of his printer:
Stay tuned for completed pics!
Dave
Last edited: