New member of my (Weber) family


Miguel M

TVWBB Pro
After reading so many threads about mini conversions and realizing the merits of having one, I finally decided to build one. As time has permitted, I've built it over the last month or so. As such, the photo-documentary aspect of this post will lack. Anyhoo, my newborn is a SJS...

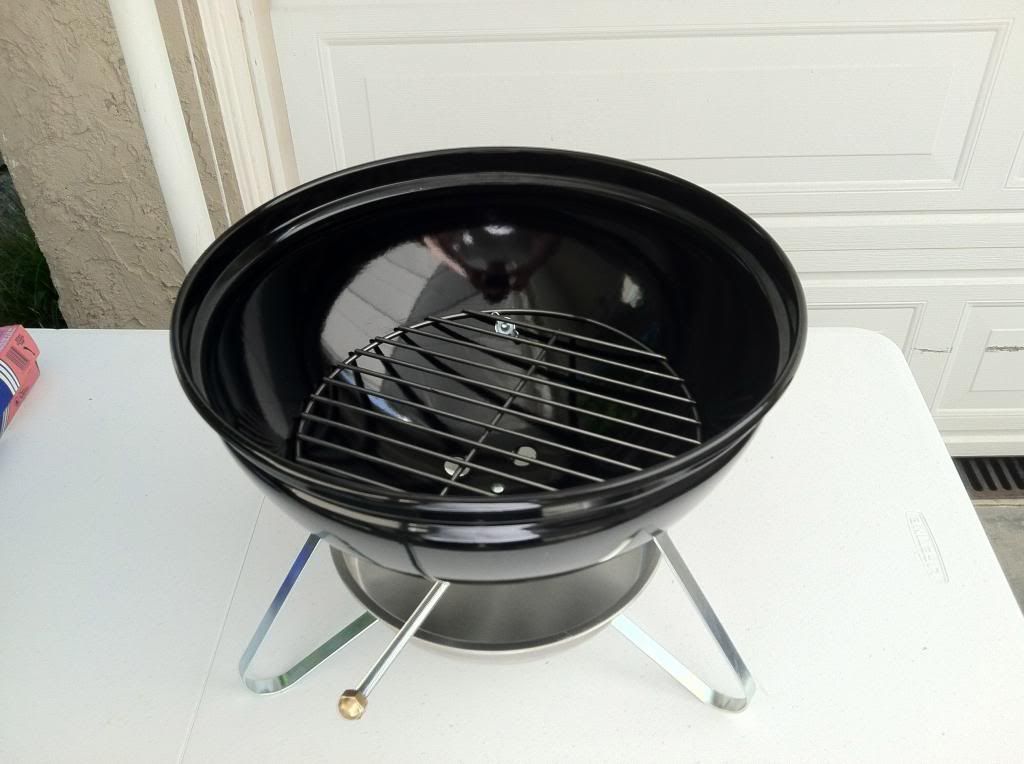
Here she is right after birth
 
As you can see, she's without soiled diapers. I bent both lower vent tabs and did the dual vent mod with a 12" threaded rod, which provides for greater air control.

Here's a low level shot


Last edited:
Now you can see the threaded mod along with an ash catcher mod. For whatever reason, I decided to install a larger ash catcher. Bigger is better, right? Now, it will catch bigger loads. It was really easy to install.

Mod view of the vent and ash catcher

 
Last edited:
Here's a shot of the bottom of the Vasconia pot, with the bottom cut out. I used aviation snips to cut it. I would have used a jig saw if I had one.


Here's the inside of the pot. As you can see, I have screws for the grates about 1" and 4" down from the top of the rim


I'm using the inside lip to rest a cooking grate, which will hold the diffuser.


9" pie pan as a diffuser. I used the same pan for my ash catcher.


With the middle grate


With the top grate

 
To prevent the ashes from clogging up the bottom vent, I cut down a can of Bush's baked beans and used a church key to punch holes in the top.


Fully assembled

 
Right now I'm using my ET-732 for a thermometer. I might install a permanent thermometer down the road. I'm also thinking about installing a grommet for a food temp probe. I'll also play around with different diffuser set-ups to see what I like best. Thanks for looking.
 
I have screws for the grates about 1" and 4" down from the top of the rim


Miguel, you may want to revisit your cooking grill locations 1" down from the top is not going to give you much room with the short lid, also you may be getting into an area of heat and smoke distrubtion problems being that close to the top. Just a thought. I have my top grill 4" down from the top and my bottom grill at 7" and it works pretty well. I think most folks are about the same or close to mine, at least I hope so because I stole the ideas from the mini posts:) Hope you enjoy your new toy.
 
Last edited:
I have screws for the grates about 1" and 4" down from the top of the rim


Miguel, you may want to revisit your cooking grill locations 1" down from the top is not going to give you much room with the short lid, also you may be getting into an area of heat and smoke distrubtion problems being that close to the top. Just a thought. I have my top grill 4" down from the top and my bottom grill at 7" and it works pretty well. I think most folks are about the same or close to mine, at least I hope so because I stole the ideas from the mini posts:) Hope you enjoy your new toy.

Thanks for the tips rich. I hadn't really thought about the dynamics of heat and smoke distribution. My thought was to add an upper grate for wings. Easy access. I did a test run last weekend and the wings on the middle grate definitely cooked faster than the ones on the upper grate. Which leads me to another question....when I cooked last weekend it was awkward removing the top grate. I didn't want to burn my fingers and the wings kept sliding off the grate. How does everyone deal with accessing lower grates? Especially without dumping your meal on the ground? To the extent I believe in the 5 second rule, i'm sure it doesn't apply to BBQ. Lol.

I guess the beauty about these builds is that you get to adjust the cooker as needed.
 
Last edited:
Last edited:
I like the U bolts. Thank you Rich! I tried using coat hangers, but, as you would expect, it didn't work well.
 
Last edited:
Since the pot diameter is tight it's best not to attempt to remove the lower grate with any meat on it. The upper mounting bolts get in the way.
 
Since the pot diameter is tight it's best not to attempt to remove the lower grate with any meat on it. The upper mounting bolts get in the way.

I forgot to mention I take anything thats on the bottom grate off before removing it, Thanks George for bringing that up it could get nasty if the food fell into the clay pot down below.


Back
Top