Don Fry
TVWBB Super Fan
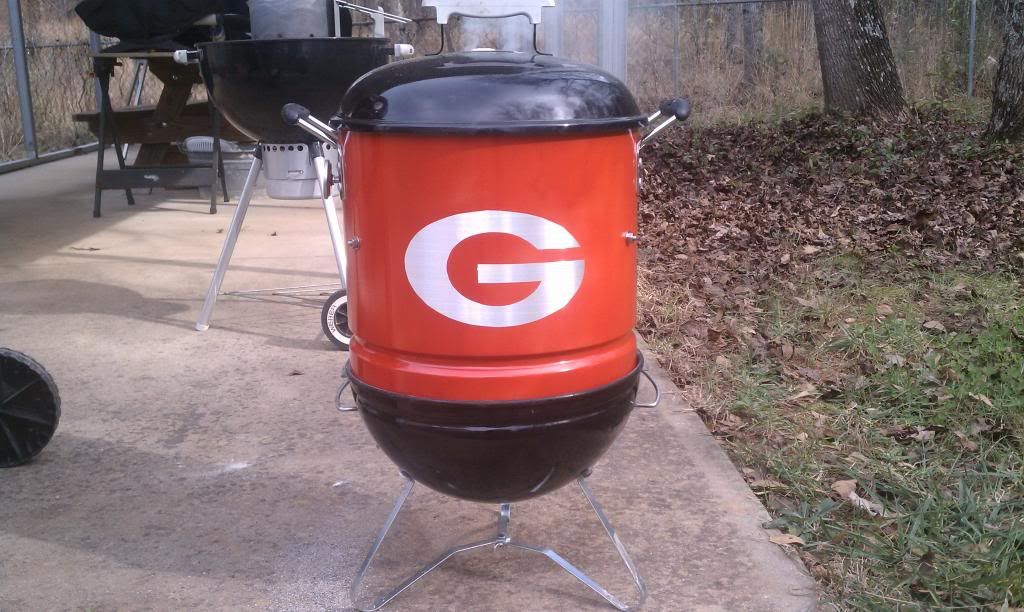
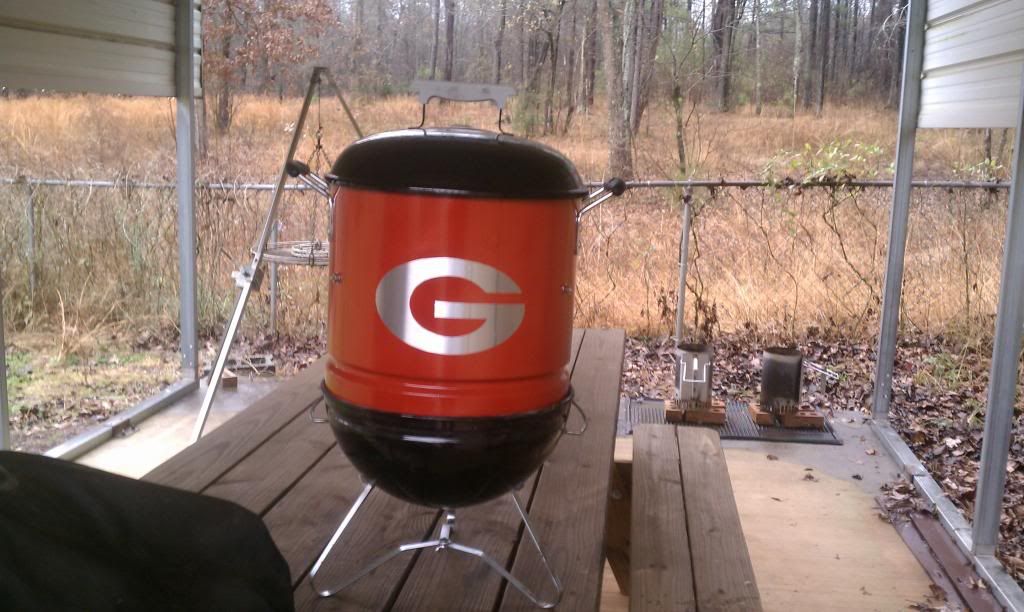
Here is a picture of my finished mini WSM. This was my first mini WSM build, but I have a feeling it won’t be my last. I really appreciate all the postings made by others because it really decreased the learning curve. Hopefully you will find my information useful for your build.
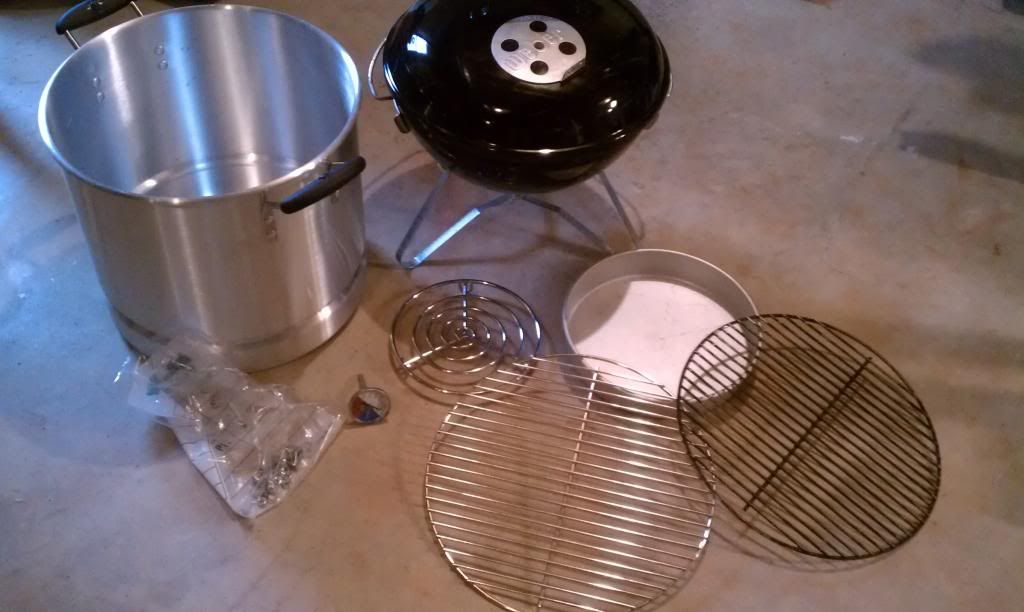
I already had a Smokey Joe Gold on hand so list of other items I needed to obtain was not very hard to find. In addition to the steamer pot, I needed an additional grate, a thermometer, a trivet, an aluminum cake pan, three ¾ inch stainless steel bolts, six nuts, and eight washers, an eyelet from The BBQ Guru, and a can of red engine paint.
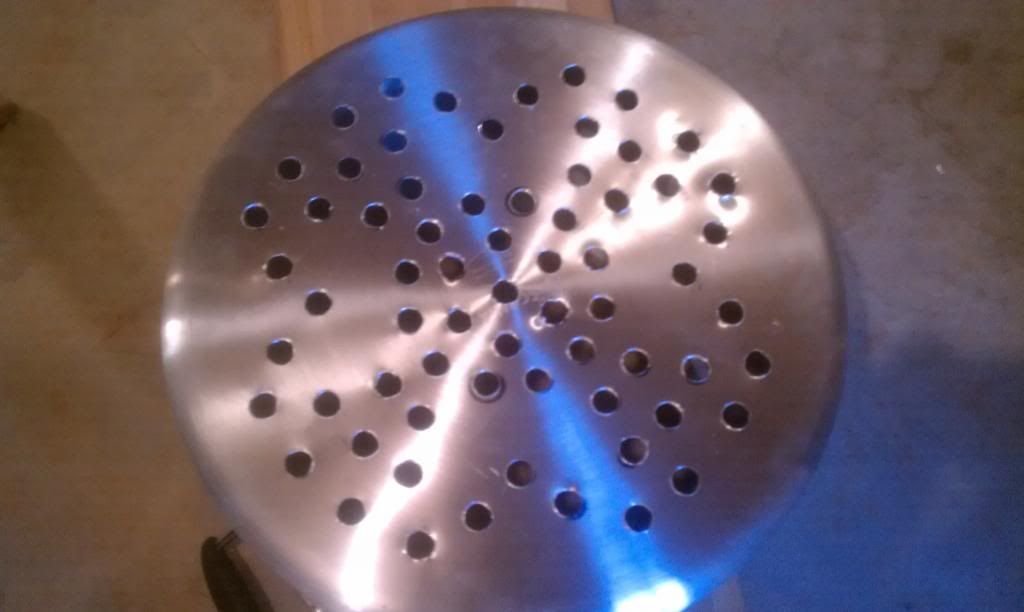
In my approach, I decided to drill holes instead of cutting out the bottom. I figure if this doesn’t work the way I want it, I can cut out the bottom later. Based on the test burn I did, I don’t think it will present a problem. I used the tamale steamer as a template for the holes. I drilled pilot holes and then made all the holes ½ inch. Note to self for next time – replace the battery on the drill as soon as it begins to slow down to ensure nice clean holes.
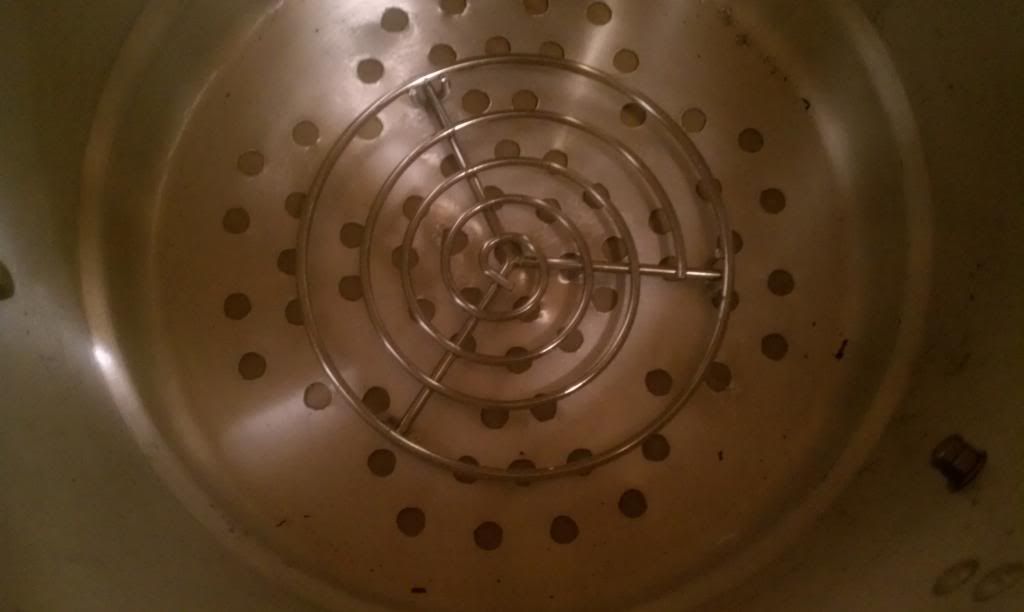
One advantage of leaving the bottom in place is that I am able to use a trivet and then place whatever I want to use as a catch pan or diffuser depending upon what I am making.
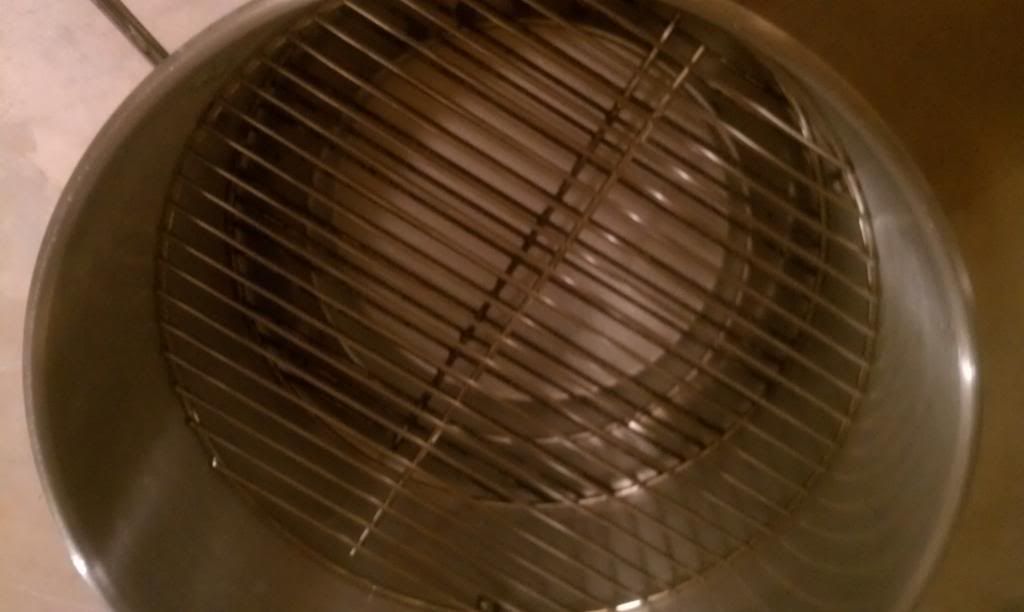
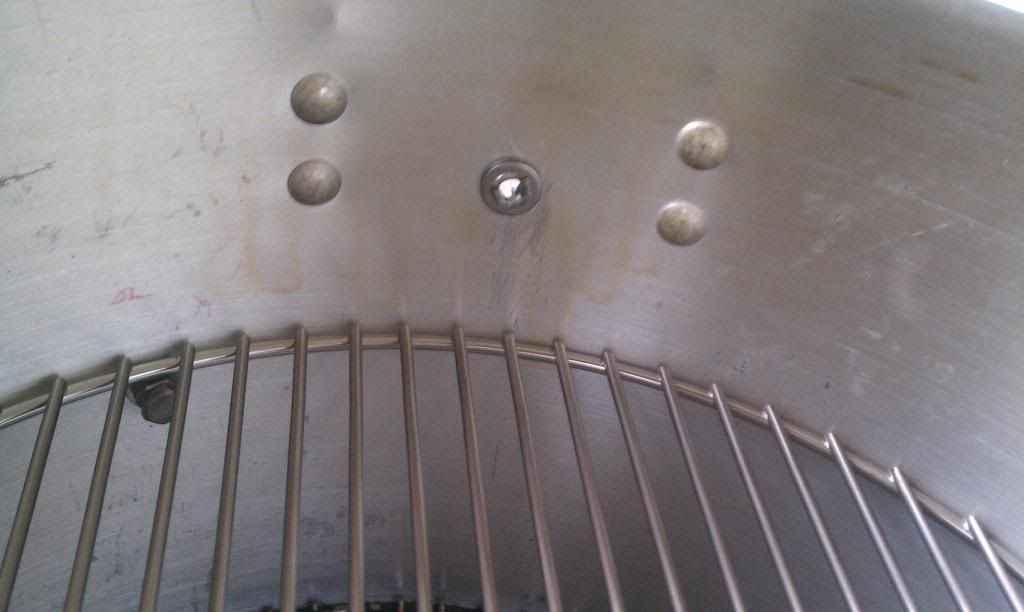
I had enough room to use the lip for the steamer for the bottom grate. I placed the upper grate 5 inches from the top putting the head of the bolts and one nut on the inside as shown below. I used washers on both the inside and outside. When I placed the bolts the other direction, I had problems putting the bottom grate in place past the bolts.
I have about 4 ½ inches between the top and bottom grates. I think that should be enough for most cooking applications I might do.
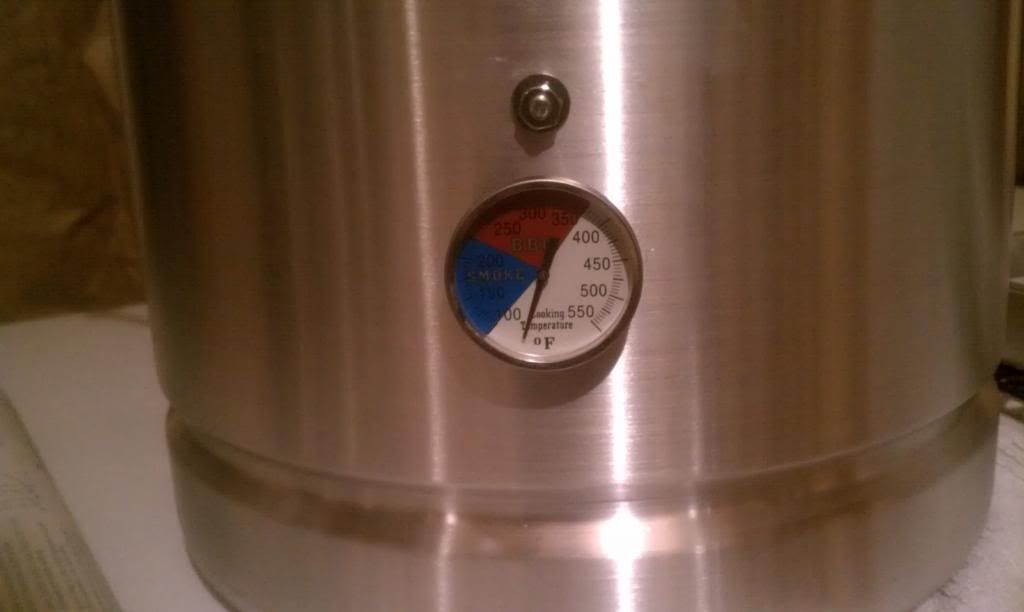
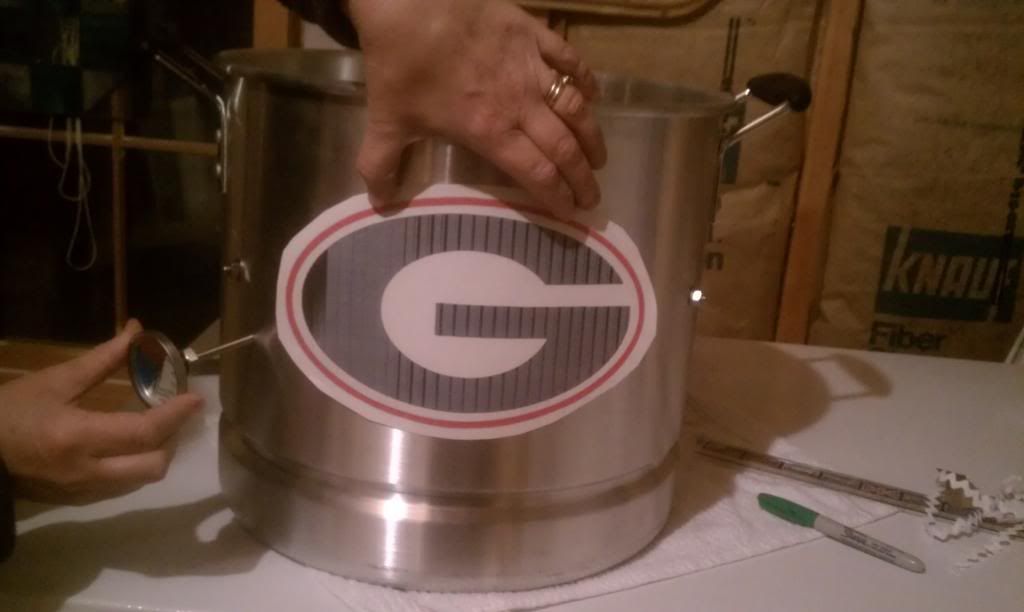
I placed the thermometer on the opposite side of the logo location between the top and bottom grate. One thing to think about when you place the thermometer is whether its location will still allow you to insert the bottom grate with it mounted in place which is why I chose the location I did. BTW – as much as I think a logo looks cool, it is a pain to work around in terms of placing the thermometer.
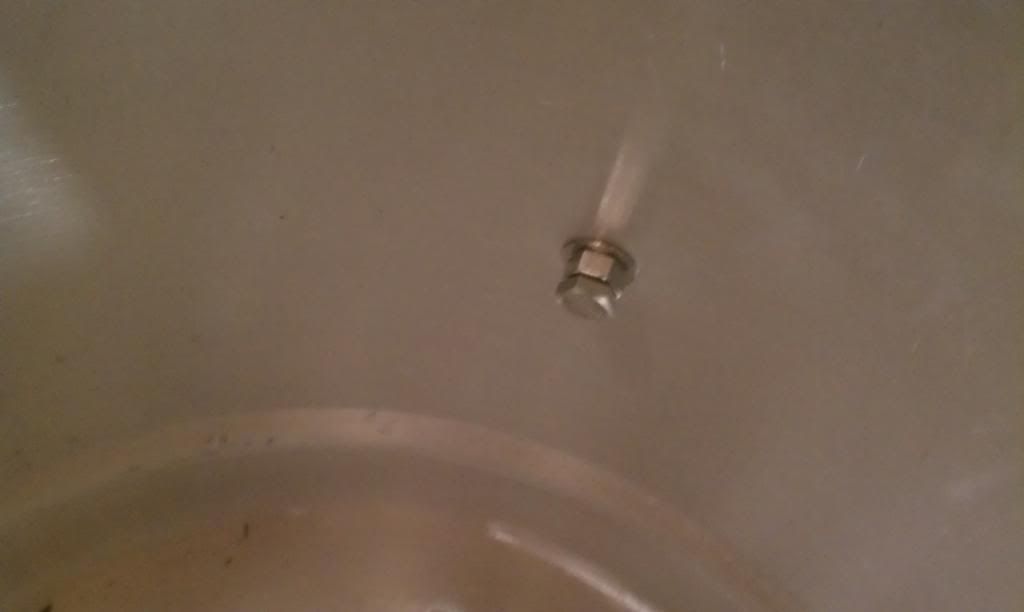
I placed an eyelet under one of the handles so I can use probes for a digital. I used two washers on the inside to make sure it was tight when I crimped it down. Don’t know if I could have gotten by with one or not, but I didn’t want to take the chance.
My wife helped me with the logo because she is a lot better at that kind of stuff that I am. I got the image off the Internet and sized it using Power Point to the size I wanted. Once I got the size worked out, my wife covered it with some clear plastic contact paper that she used to make a template and then pealed the back off attaching it directly to the pot. I stayed out of the way during most of this part. After that it was painting time. I selected red engine paint. It says it is good up to 500 degrees.
This was definitely a fun project plus it allowed me to finally put my Smokey Joe Gold to good use. My only regret was not doing this a long time ago.
I already had a Smokey Joe Gold on hand so list of other items I needed to obtain was not very hard to find. In addition to the steamer pot, I needed an additional grate, a thermometer, a trivet, an aluminum cake pan, three ¾ inch stainless steel bolts, six nuts, and eight washers, an eyelet from The BBQ Guru, and a can of red engine paint.
In my approach, I decided to drill holes instead of cutting out the bottom. I figure if this doesn’t work the way I want it, I can cut out the bottom later. Based on the test burn I did, I don’t think it will present a problem. I used the tamale steamer as a template for the holes. I drilled pilot holes and then made all the holes ½ inch. Note to self for next time – replace the battery on the drill as soon as it begins to slow down to ensure nice clean holes.
One advantage of leaving the bottom in place is that I am able to use a trivet and then place whatever I want to use as a catch pan or diffuser depending upon what I am making.
I had enough room to use the lip for the steamer for the bottom grate. I placed the upper grate 5 inches from the top putting the head of the bolts and one nut on the inside as shown below. I used washers on both the inside and outside. When I placed the bolts the other direction, I had problems putting the bottom grate in place past the bolts.
I have about 4 ½ inches between the top and bottom grates. I think that should be enough for most cooking applications I might do.
I placed the thermometer on the opposite side of the logo location between the top and bottom grate. One thing to think about when you place the thermometer is whether its location will still allow you to insert the bottom grate with it mounted in place which is why I chose the location I did. BTW – as much as I think a logo looks cool, it is a pain to work around in terms of placing the thermometer.
I placed an eyelet under one of the handles so I can use probes for a digital. I used two washers on the inside to make sure it was tight when I crimped it down. Don’t know if I could have gotten by with one or not, but I didn’t want to take the chance.
My wife helped me with the logo because she is a lot better at that kind of stuff that I am. I got the image off the Internet and sized it using Power Point to the size I wanted. Once I got the size worked out, my wife covered it with some clear plastic contact paper that she used to make a template and then pealed the back off attaching it directly to the pot. I stayed out of the way during most of this part. After that it was painting time. I selected red engine paint. It says it is good up to 500 degrees.
This was definitely a fun project plus it allowed me to finally put my Smokey Joe Gold to good use. My only regret was not doing this a long time ago.
Last edited:


