Yong
TVWBB Member
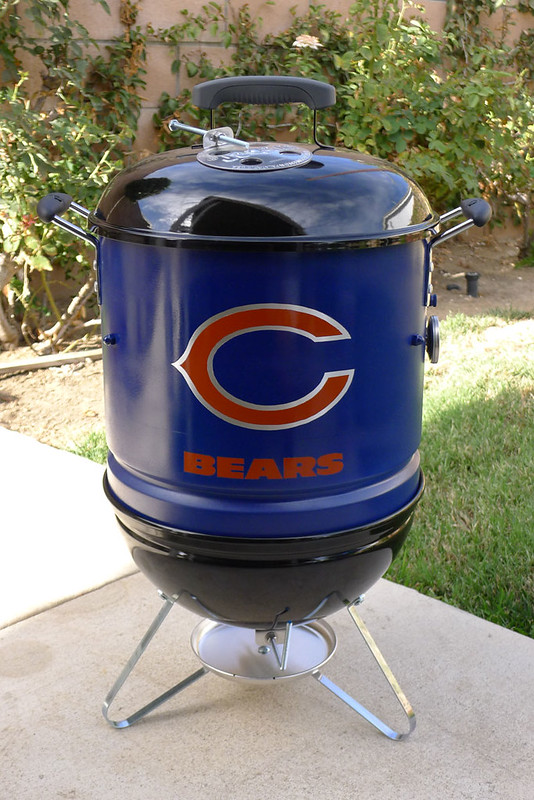
This is my 2nd mini-wsm build and I had more fun making this one than my first one (the one seen in my avatar pic). My friends are big Chicago Bears fans so I thought I'd help them let everyone know. Long story, short...I promised I'd make this for them so here it is. And I took pics to share with you all, and hopefully to inspire others to build one of their own! Let me be the first to admit that painting is not my strength here. But overall, I'm happy with it.
Completed product:
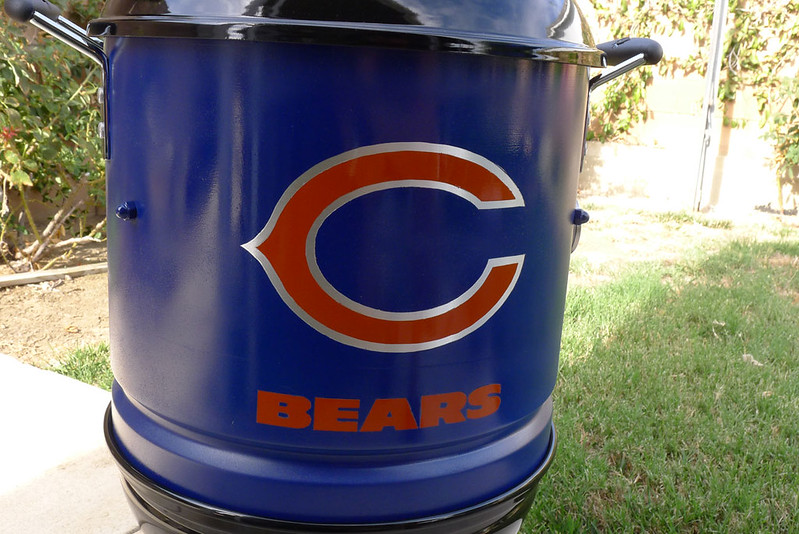
Logo closeup:
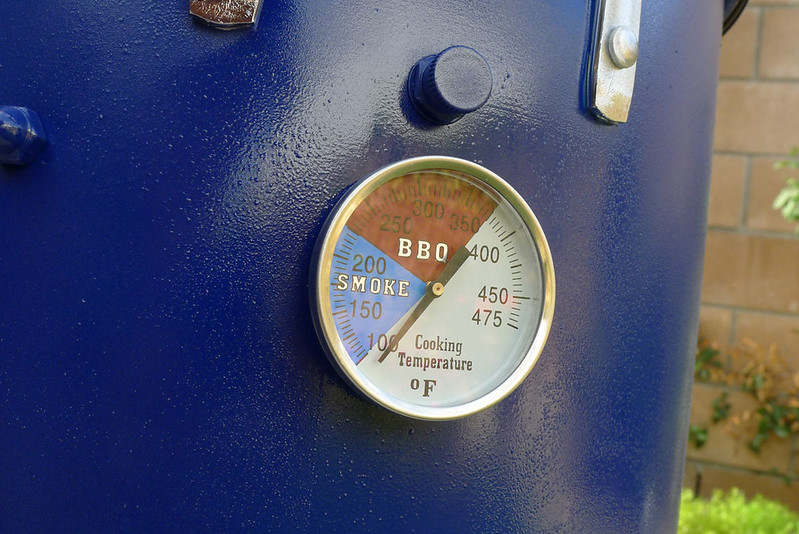
Thermometer, and temp probe hole (closed):
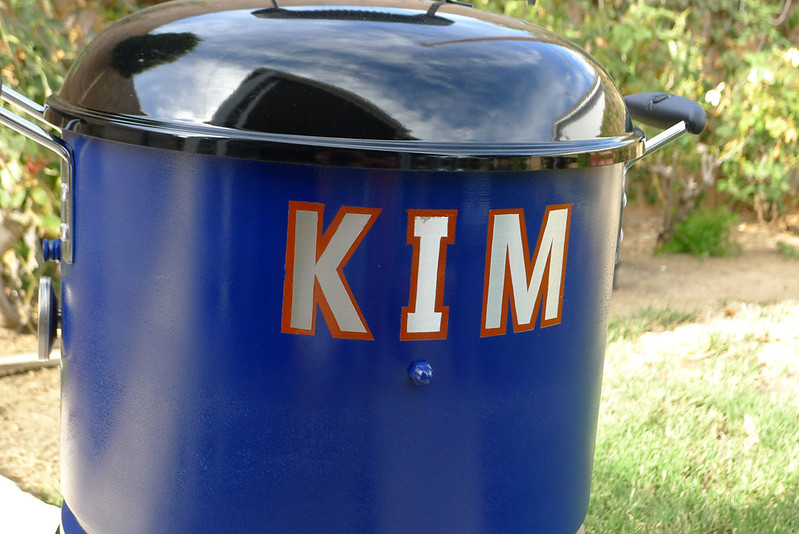
Name on the back (like a jersey). You can see where I messed up on the paint on the lettering.
Now for the details...let's start at the bottom!
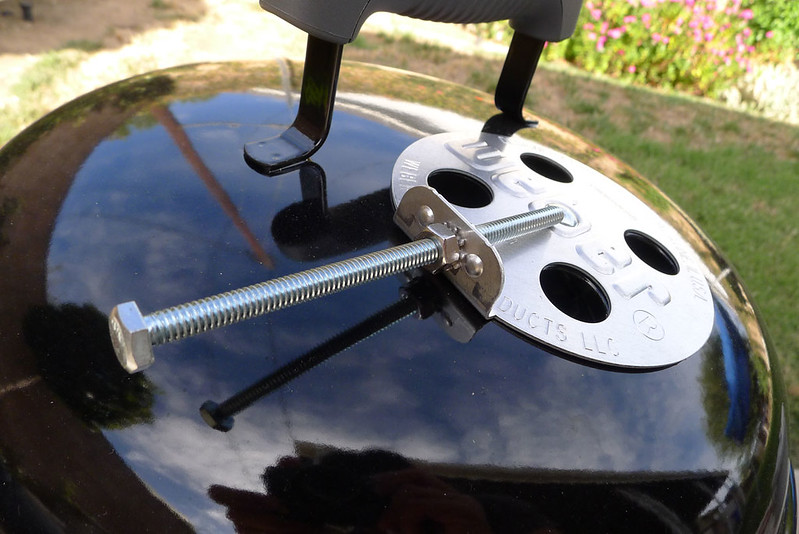
Vent control, using a 1/4" steel rod. Bolted on both sides of the vent tabs, and bent the rod entirely so it doesn't jut out. Bending the rod like this also prevents the cover from getting caught on the rod. The end of the rod is about half an inch away from the bottom of the bowl. Also marked the ash catcher for open and closed positions.
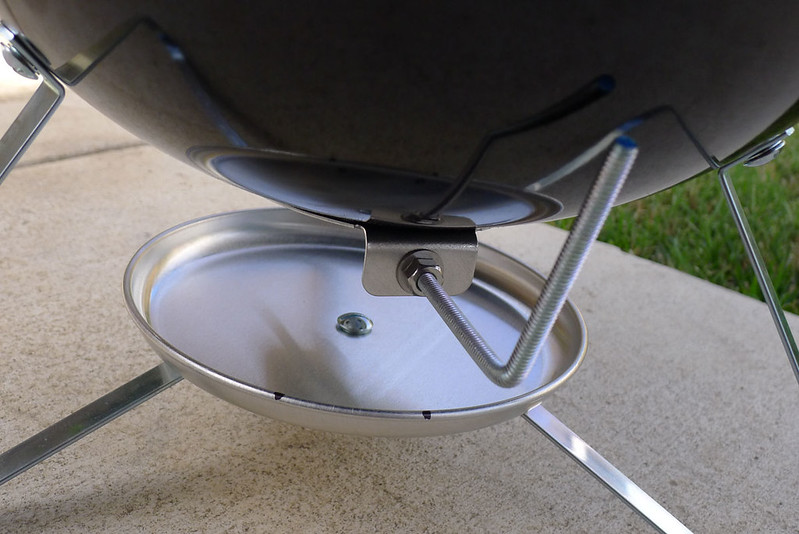
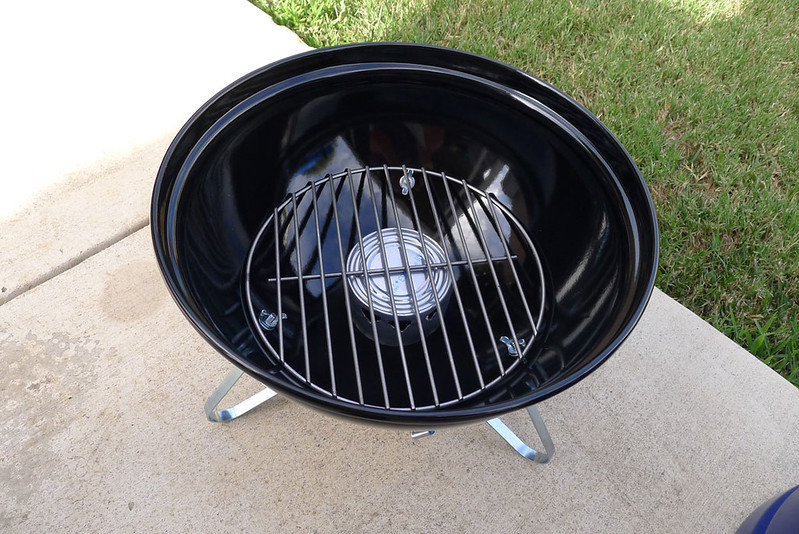
Ash blocker. Nothing special here. Just used a can of chicken breast. It actually was too big (height) so I snipped off the lip and sanded it down. Now it fits. Also didn't bother making a standing charcoal grate. From using my other mini, felt it wasn't necessary. Besides, this way, it can hold more charcoal.
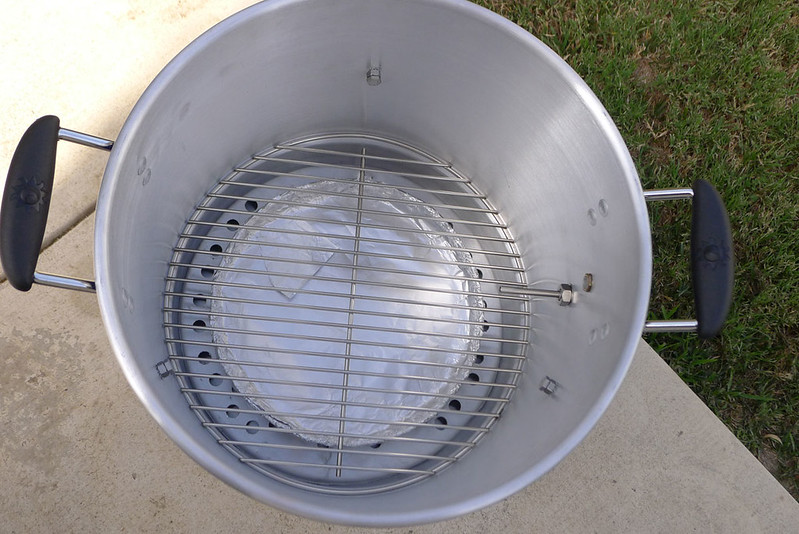
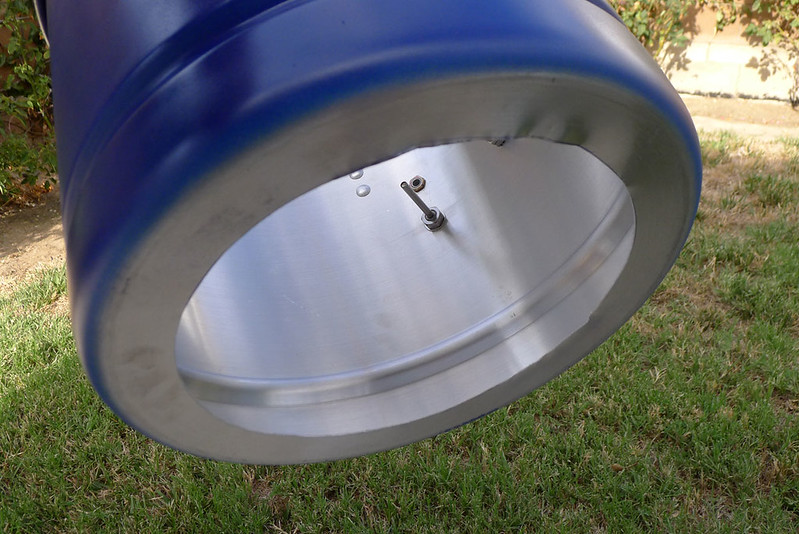
And now, to the pot. I cut out a 10" hole on the bottom (used party plate to trace circle). In my first mini, I cut out tabs to hold up my pan. But this time, I wanted to try something different.
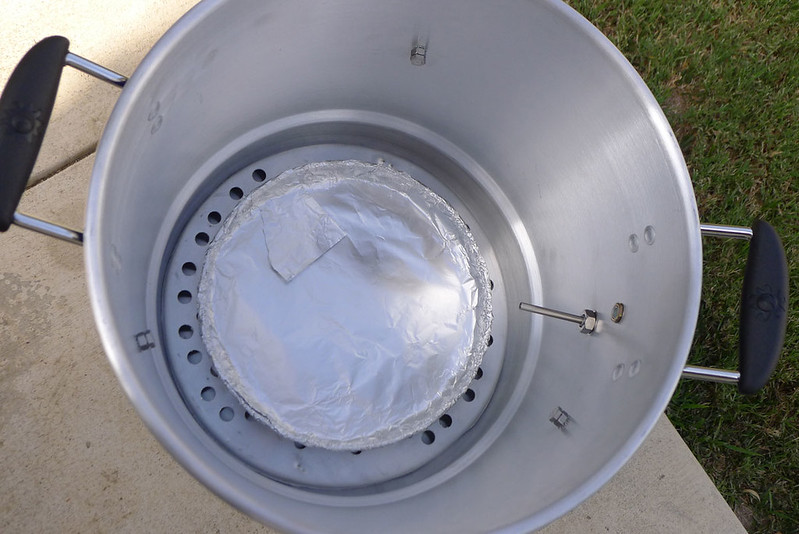
View from the top.
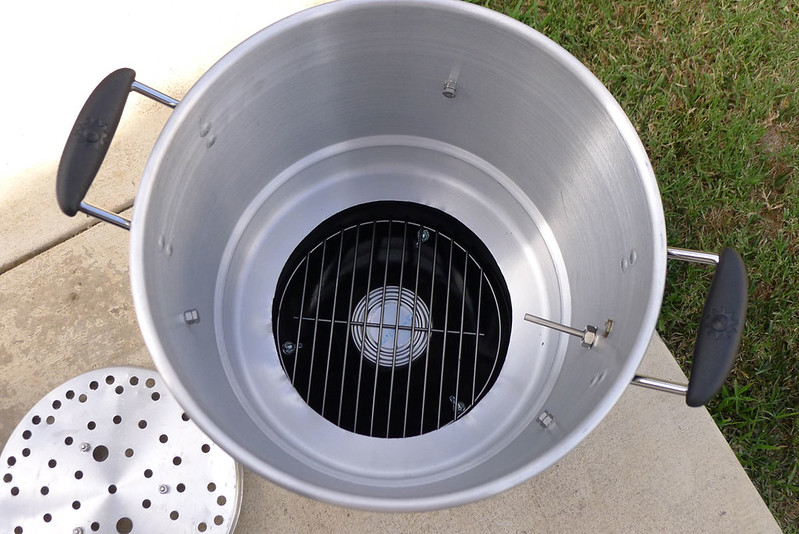
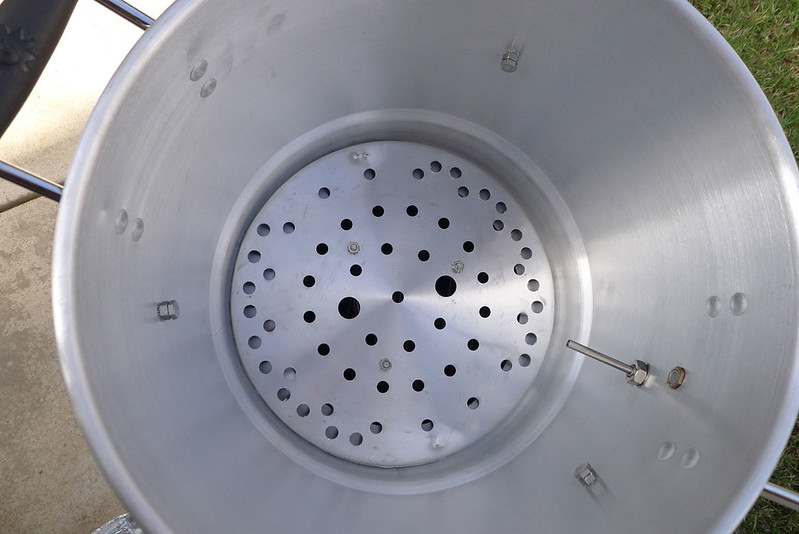
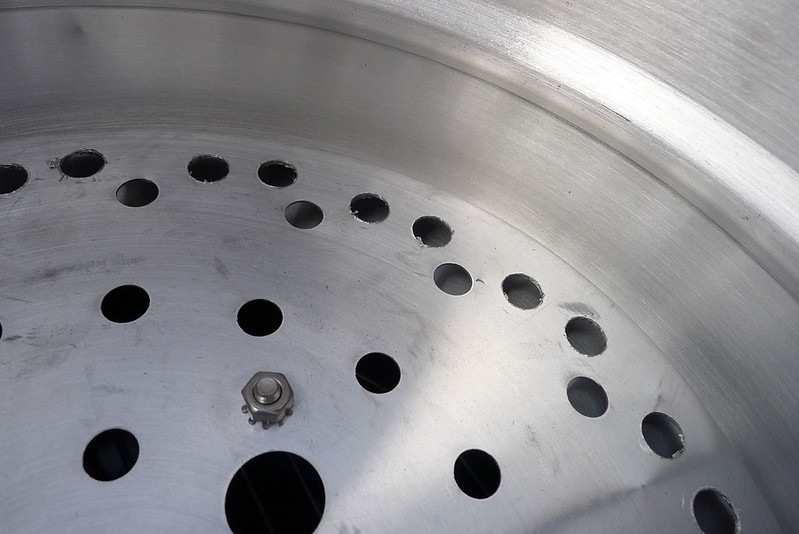
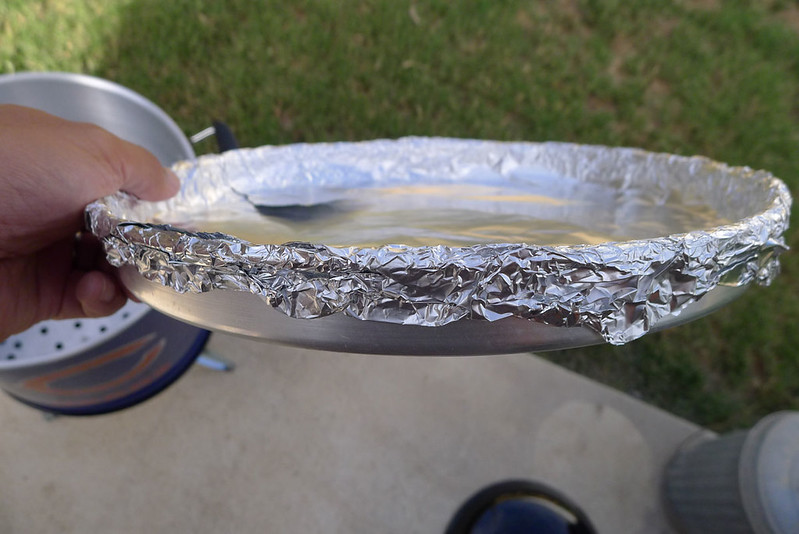
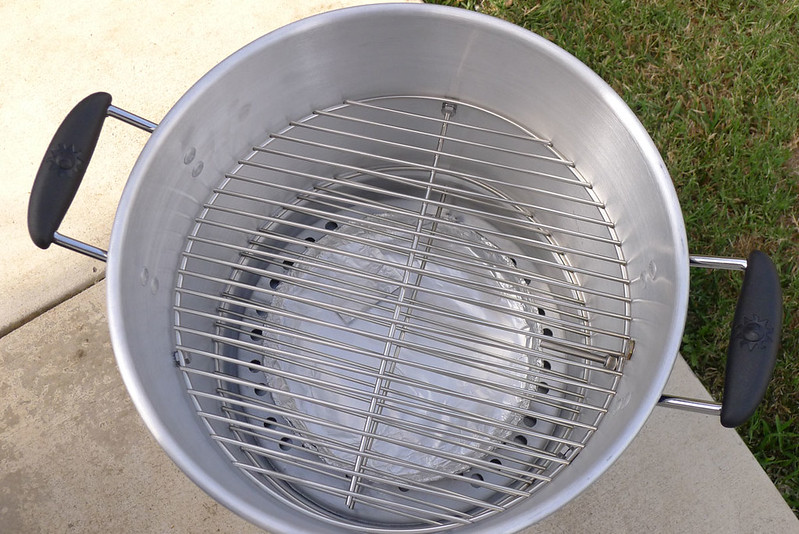
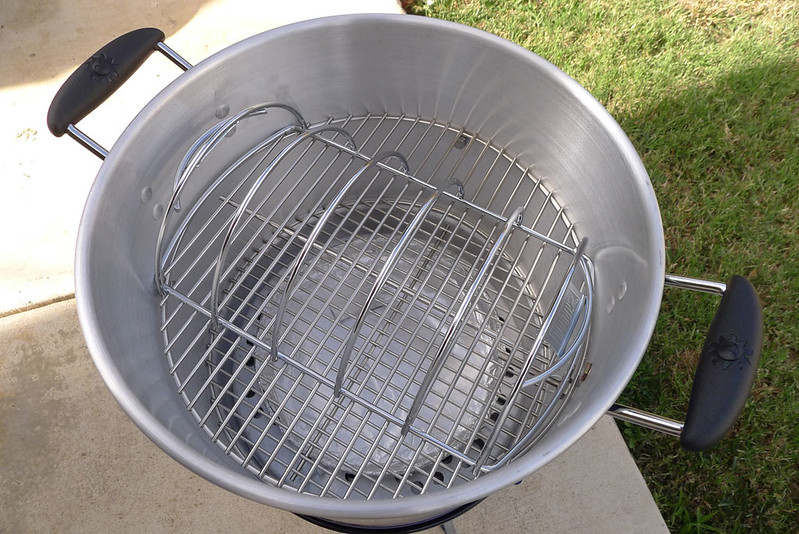
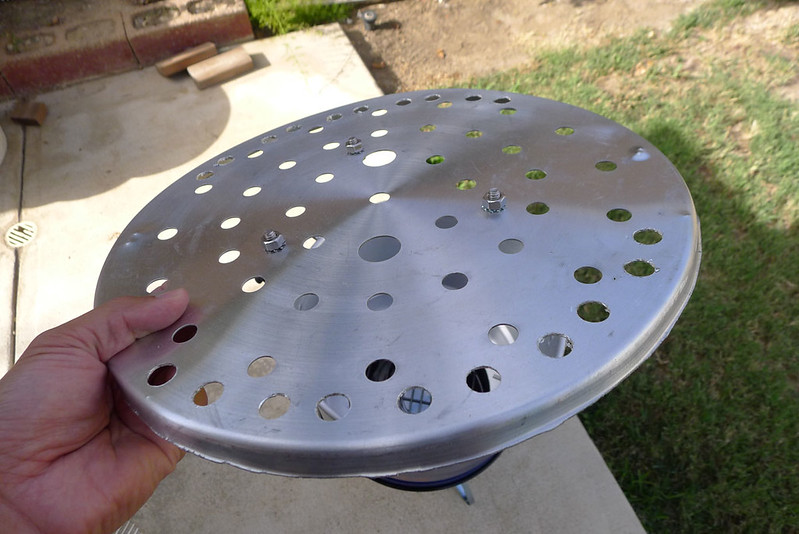
As mentioned, I wanted to try something different to hold up the diffuser (pan). After thinking about this...a lot...I realized I have the steamer tray that could work! But first, I needed to cut out the lip. I also wanted to make sure the diffuser was sitting slightly higher to let heat/smoke through. So I bolted on 3 nuts to raise the pan.
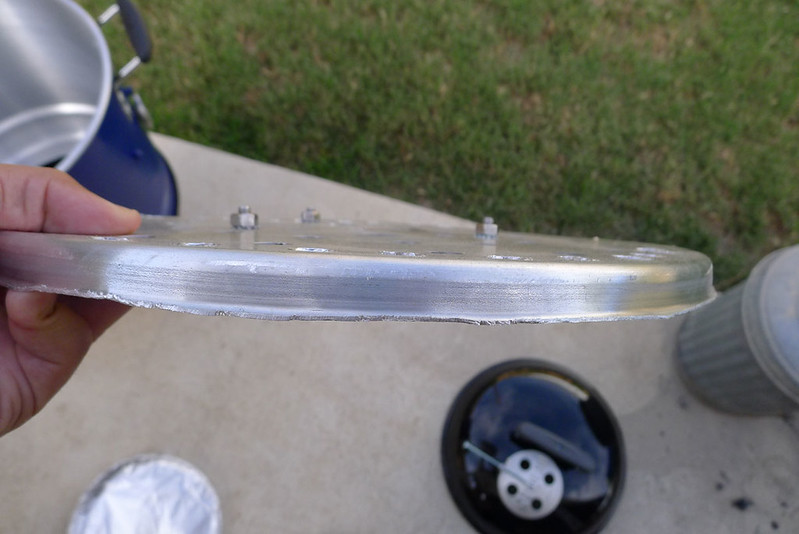
View of the side. The steamer rack is about half an inch high, and with the bolts, the diffuser will be about another half inch from the bottom of the pot.
To be continued....
Completed product:
Logo closeup:
Thermometer, and temp probe hole (closed):
Name on the back (like a jersey). You can see where I messed up on the paint on the lettering.
Now for the details...let's start at the bottom!
Vent control, using a 1/4" steel rod. Bolted on both sides of the vent tabs, and bent the rod entirely so it doesn't jut out. Bending the rod like this also prevents the cover from getting caught on the rod. The end of the rod is about half an inch away from the bottom of the bowl. Also marked the ash catcher for open and closed positions.
Ash blocker. Nothing special here. Just used a can of chicken breast. It actually was too big (height) so I snipped off the lip and sanded it down. Now it fits. Also didn't bother making a standing charcoal grate. From using my other mini, felt it wasn't necessary. Besides, this way, it can hold more charcoal.
And now, to the pot. I cut out a 10" hole on the bottom (used party plate to trace circle). In my first mini, I cut out tabs to hold up my pan. But this time, I wanted to try something different.
View from the top.
As mentioned, I wanted to try something different to hold up the diffuser (pan). After thinking about this...a lot...I realized I have the steamer tray that could work! But first, I needed to cut out the lip. I also wanted to make sure the diffuser was sitting slightly higher to let heat/smoke through. So I bolted on 3 nuts to raise the pan.
View of the side. The steamer rack is about half an inch high, and with the bolts, the diffuser will be about another half inch from the bottom of the pot.
To be continued....