Cutting a notch in top of smoker


Jason H.

TVWBB Member
All,

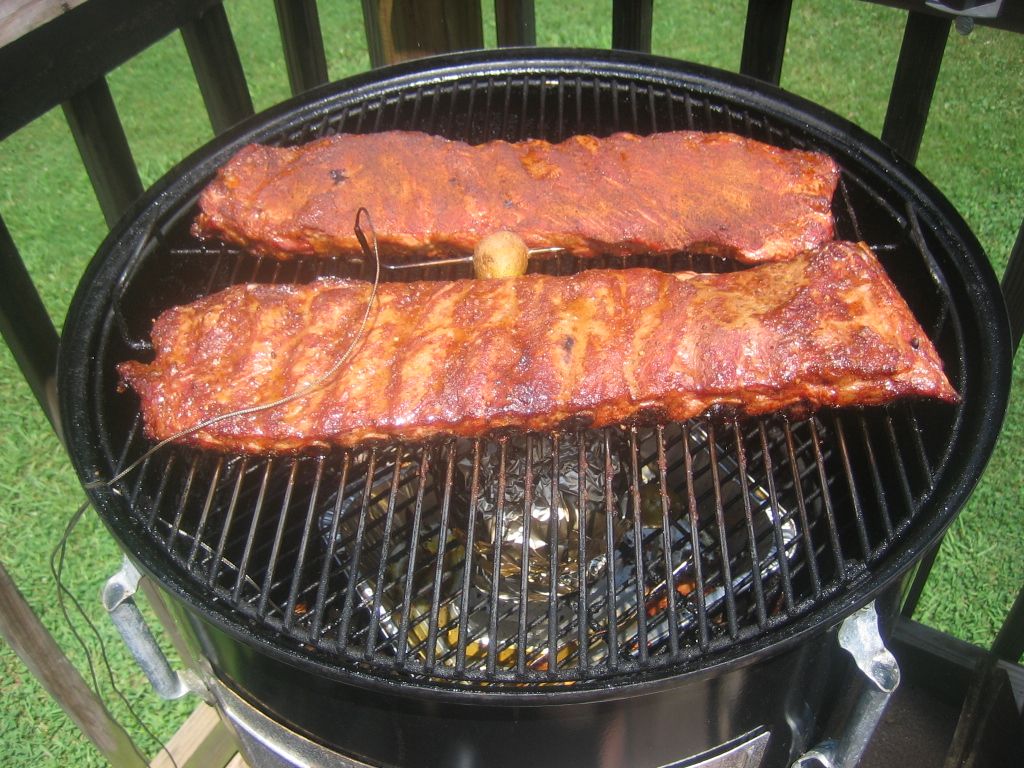
I know there are snippets of this in different posts but wanted to get everyone's opinion in one place. I just purchased a Maverick ET732 and want to use it this weekend on a prime rib cook.

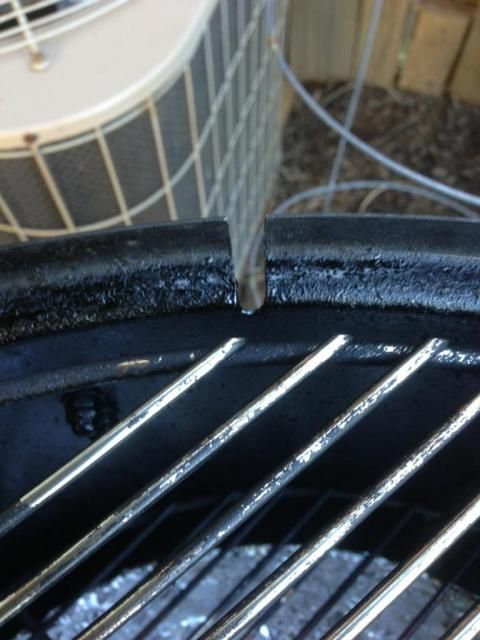
From everything I have read here I want to make a notch in the top of the center section where everything can fit through. I have a dremel with cutoff wheels but wondering on two points.

A) from those that have done this with a dremel how did you do the bottom of the notch? I am thinking this procedure for doing mine:
- blue tape the area both inside and out.
- drill a hole (just big enough for my 2 wires) as high up on the middle section as possible just below where it flares out for the lid holder.
- use the dremel to cut out just enough above the drilled hole so that my probes will fit through it.
- use a small file to make sure no jagged edges to catch on the probe wires
- my cook this weekend should give it a nice grease/soot coating

Any suggestions or pics of others who have done this to help on this?

B) I always "shut down" my smoker when I get done to save as much of the charcoal for the next cook as possible. I am thinking once I get done with my cook I will pull the probes out and then just take a piece of paper towel folded up and jam it in the hole so that the coals go out from lack of oxygen. Anyone have suggestions or experience on doing this?
 
I cut a slot, notch, etc. with a Dremel. I used a cutting wheel for the initial cut then took a pass with a rotary cutting bit. I have a nice rounded finish.

You don't need a paper towel. It shuts down fine with the notch.

You can see the temp probe riding in the notch in this photo.

IMG_1611_zps40063436.jpg
 
Last edited:
I have a Dremel, but used a 4" hand grinder because I could. Nothing wrong with the Dremel though, you'll just need 2 passes to get the notch as it's a narrow cutting wheel. You could drill a 1/4" (ish) hole and cut out the metal above that to give you the rounded notch. Or, just use a bit like this to round out the bottom and sides of the notch. You don't need much space into the body of the smoker for the Maverick wires.

681964_300.jpg


As Dwain said, for shutting it down --- nothing required and mine shuts down just fine. I recently picked up an 18" WSM and I'm fixing to make the notch mod like I did on the 22.
 
- drill a hole (just big enough for my 2 wires) as high up on the middle section as possible just below where it flares out for the lid holder.
- use the dremel to cut out just enough above the drilled hole so that my probes will fit through it.
w

maybe I'm misreading this , but are you talking about not cutting all the way up and thru the top of the rim to make a slot? It sounds like you are considering making it like a keyhole?
 
Frank,

Yeah, that was the original idea. The good side of this: no chance of them getting pinched by the lid. Bad side is if I want to pull either rack out and the probes are on it, I will have to take the probes off.
 
Frank,

Yeah, that was the original idea. The good side of this: no chance of them getting pinched by the lid. Bad side is if I want to pull either rack out and the probes are on it, I will have to take the probes off.

exactly. That's what I wanted to warn you. The grommet is a PITA for just this reason. Once the wires are trapped in the smoker , you have to deal with them in the hot smoker and it's annoying. With the full slot , you just pick up the rack and the probe and wire comes with it . I haven't cut the slot yet , but I will soon. And BTW I like your idea of drilling the hole at the bottom first. That way you won't end up cutting too deep. Just end the cut at the hole. But I would go full cut , no doubt in my mind.
note: this is just my opinion :cool:
 
So had some time yesterday and got ready for a long hard cut. Was very pleasantly surprised! Doing both of my 18" WSM's to have the notch took about 20 minutes at most. Started out by putting 2 layers of blue tape onto the outside and inside. I don't think this was so much for the finish but it really helped the drill bit not skip around for the first drill. Started with a very small bit (did not record size) and then moved directly up to a 1/4" bit. Then I just free hand drew a little bit narrower than 1/4" line on the blue tape (inside the smoker) up from the hole to the top of the rim. Then broke out my dremel with their "heavy duty cutting wheel" and went at it. The cutting wheel went right through the metal with no problems. Also, as a response to my questions above about deburring, the dremel cutting wheel also did a great job of rounding the edges of the cut to take out any burrs. Once I did 2 cuts all the way through to make the notch I just ran my finger over the edges and anywhere there were burrs just buzzed them with the cutting wheel and it was smoothed out. Really happy with how this came out. I left the notches covered with tape (my smokers live in my garage - not outside) just in case for rust but I think after the cook this weekend on both WSM's the notches should be nice and coated for future protection.

Also one thing I thought of is that I placed one notch 90 degrees to the left of the charcoal door and on the other WSM it is 90 degrees to the right of the charcoal door. In this way when I set mine up I can put a metal folding chair (horrible to sit on but the back of it is great for holding thermometers and timers!) in between the two and I am good to go!

Will try to get some action shots of them this weekend but here is a few of just the notches.

IMG_46981_zps40ecf33c.jpg

IMG_46951_zps57bf89c2.jpg
 
First cook with the notches this weekend! Did 10 boston butts, 2 standing rib roasts, sausage and chicken. Worked great and yes it did shut down when I closed the vents. No noticeable change in normal operation.
 
First cook with the notches this weekend! Did 10 boston butts, 2 standing rib roasts, sausage and chicken. Worked great and yes it did shut down when I closed the vents. No noticeable change in normal operation.

Good to know , man. Thanks for sharing. Gotta get this done !
 
This is my 22.5" after cooking on it. Works perfectly. As you can see, it's just past the rim where the lid sits.

0AF2A5D9-1D07-43DE-A448-167777D91F80-5980-000002C34459FA10.jpg


I like the way this looks, but there is just some part of me that hates the idea of taking a Dremel to my beloved WSM! :(


Back
Top